These instructions apply to Google Chromebook devices. You will use a setup wizard called Cloudpath XpressConnect to connect your device. You may also use these instructions to recreate your connection in the future. This may be necessary if you delete your connection or change your password. Please note that the "COM_Limited_Access" wireless is for onboarding purpose ONLY. You must complete your setup to join your assigned wireless network.
Step 1: Enable wireless on your device
If your Wifi is already enabled, go to Step 2. If disabled, follow instructions below.
Go to the Bottom Right of your screen.
Click the clock. The popup windows will include the network setting

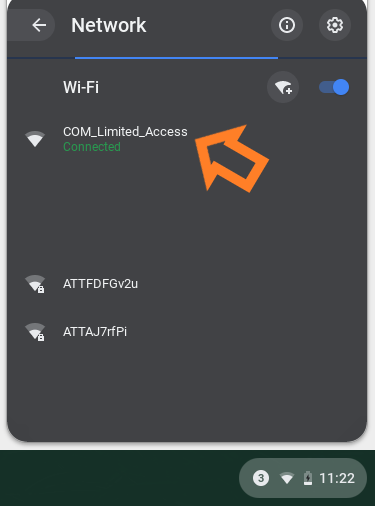
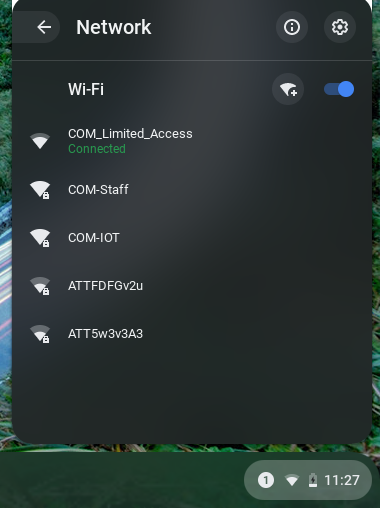
Step 2: Connect to COM_Limited_Access
Click on the "COM_Limited_Access" network
Go to your browser and navigate to the URL byod.marin.edu
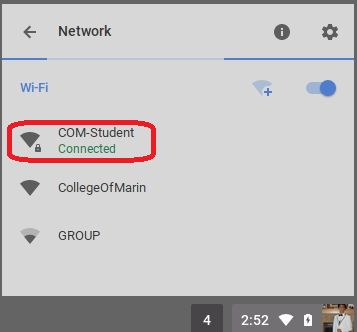
Step 3: Select COM_Limited_Access
Within your Wi-Fi settings, select COM_Limited_Access from your list of available networks.
The wireless login page will open automatically. This may take few seconds.
If that does not work, open any browser.
You should be directed to the wireless login page. If you are not redirected automatically, go to https://byod.marin.edu
The illustrations below show only Student configuration. Staff (Classified, Faculty, & Management) and Guest configurations are similar.
Select your appropriate network access: you may be either Guest, Student, or Staff.

Step 4: Terms and Conditions
Read carefully the Terms & Conditions of using COM wireless
Check I accept the terms of the End-User License Agreement, if you agreed.
Click Start.
Click OK at the notification prompt.

Step 5: Login credentials
For the username, enter your MyCOM username (not your email address).
Enter your MyCOM password in the password field. Only passwords are case-sensitive.
Click Continue.

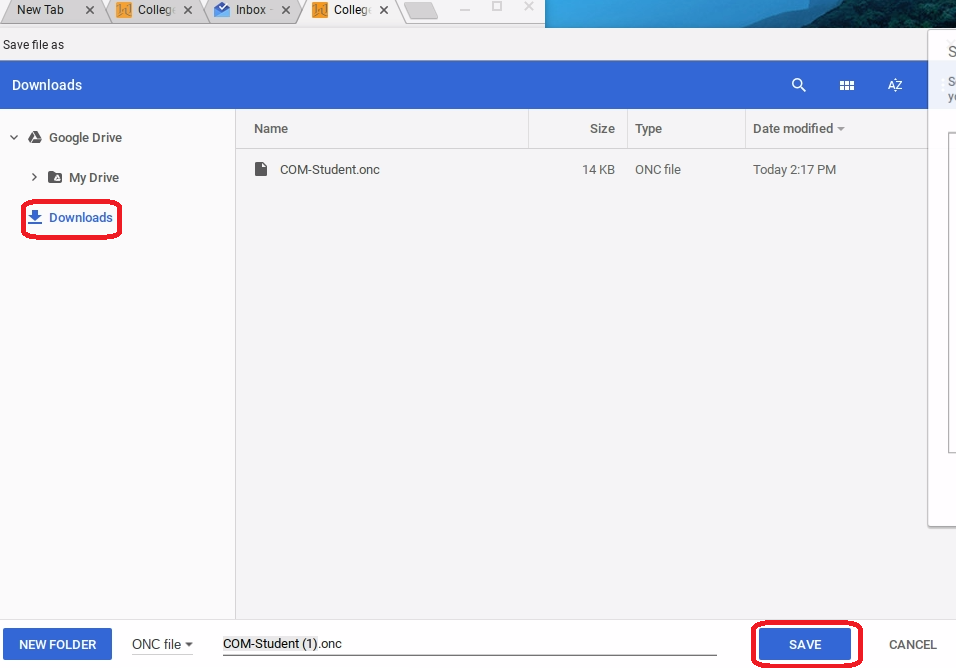
Step 6: Download CloudPath application
Click on Step1: Download the network .onc file
Click the Download folder and click Save.
Step 7: Import network file
Open a new tab in the browser
Type (or copy and paste) this address into the browser: chrome://net-internals/#chrome-os
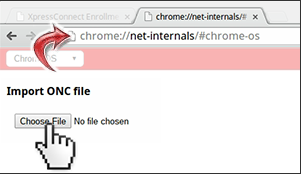
Under Import ONC File. click Choose File
Select the downloaded COM-xxxx.onc file and click Open
If an error is not reported, your device is now configured for the network
To connect, select 'COM-xxxx' from the list of wireless networks.